Getting Started: Materials and Preparation
Before you start your batman symbol drawing, gather all necessary materials. Here are the essentials you’ll need:
- Paper: A plain sheet of white paper will do nicely. Ensure it’s clean and flat.
- Drawing Tools: Pencils (preferably HB or 2B), erasers, and a fine-tip black marker or pen.
- Guidelines: A ruler or a straight edge to help you draw straight lines.
- Circle Template: This isn’t mandatory but can help in drawing perfect ovals.
- Mirror: Useful for checking the symmetry of your Batman symbol.
Once you have all these items, neatly arrange them on your workspace. A clean, organized space can make your drawing process smoother and more enjoyable. Ensure you have good lighting to clearly see your work as you draw. This helps in reducing errors and achieving a more accurate Batman symbol outline.
Step-by-Step Guide to Drawing the Batman Symbol Outline
To effectively create the Batman symbol drawing, follow these simple, step-by-step instructions.
Step 1: Drawing the Basic Structure
Begin by sketching two perpendicular guidelines on your paper. Use a ruler for precision. The horizontal line should be significantly longer than the vertical line to form a cross.
Step 2: Creating the Oval
Around the intersection of your guidelines, draw a large oval. Ensure it’s centered and evenly proportioned by checking the mirror reflection.
Step 3: Adding the Inner Oval
Inside the first oval, draw a smaller, identical one. This will serve as the border of the Batman logo. Keep the spacing even around the entire oval.
Step 4: Outlining the Bat’s Wings and Head
Within the ovals, start sketching the shapes of the bat’s head and wings. The initial guidelines are there to assist you in achieving the perfect symmetry and proportions.
Step 5: Shaping the Wings
Next, outline the bat’s wings, following the curvature of the ovals, to make them appear parallel to the original shapes.
Step 6: Drawing the Lower Part of the Bat
Using curved lines, illustrate the bottom part of the bat’s shape, keeping in mind the need for symmetry between the left and right sides of the Batman symbol.
Step 7: Erasing the Guidelines
Carefully remove all the initial guidelines and refine the Batman symbol’s outlines with a darker pencil, pen, or marker.
Step 8: The Final Outline
Check your drawing once more. Ensure all lines are crisp and clear before proceeding to shade or color the Batman symbol in the next steps of this guide.
By following these steps, you can draw a clean and recognizable outline of the iconic Batman symbol. Remember that practice makes perfect and drawing the symbol several times will help improve your skills.

Defining the Batman Symbol: Detailing the Bat Emblem
After creating the basic outline, we move on to detail the bat emblem. Start by refining the bat’s head shape within the inner oval. Ensure it looks sharp and aligns well with the wings.
Next, detail the bat’s wings. Make the edges sharp and pointed to mirror a bat’s silhouette. Focus on creating a smooth transition from the bat’s head to its wings. This will provide a cohesive and powerful look for the emblem.
Pay attention to the wingtips. They should be symmetrical and extend just beyond the outer oval. This helps in emphasizing the bat’s widespread wings, adding to the logo’s dynamic visual impact.
For the body of the bat, ensure the lines are sleek and narrow. This creates a contrast with the wider wings and adds an aerodynamic feel. This detailing is crucial as it brings the emblem to life, making it recognizable and impactful.
Incorporate these details carefully to preserve symmetry and balance in the Batman symbol. These detailed elements define the character and strength of the Batman emblem, making it not just a symbol, but a statement.
Creating Symmetry: Tips for an Accurate Batman Symbol
Achieving symmetry in your batman symbol drawing is essential for an authentic look. Here are tips to create a symmetrical Batman symbol:
- Use Guidelines: Draw straight horizontal and vertical lines to form a cross that will guide your drawing.
- Start with an Oval: Draw a large oval centered on the cross to ensure even proportions on both sides.
- Add Structural Lines: Sketch additional straight lines inside the oval as references for the bat’s wings and body.
- Check Proportions: Use a mirror to view your drawing’s reflection; this helps spot asymmetries.
- Duplicate Shapes: When drawing one side of the bat, replicate the shape on the other side to maintain balance.
- Erasing Carefully: After sketching the bat, erase the guidelines slowly, checking constantly that symmetry is kept.
- Adjustments: Don’t be afraid to make small adjustments. If something looks off, tweak it until it’s right.
Remember, symmetry gives the Batman symbol its powerful and iconic appeal. Take your time with each step, and don’t rush the process. Patience and careful observation are your best tools for creating a symmetrical and striking Batman symbol.
Erasing Guidelines and Finalizing the Batman Symbol
Once you have your Batman symbol drawing shaped and outlined, it’s time to clean it up. Erasing the guidelines carefully is a critical step. It turns your sketch into a finished piece. The following points will help you finalize your Batman symbol:
- Remove Guidelines: Gently erase the initial horizontal and vertical lines you drew. These were just to guide your Batman symbol drawing.
- Refine Edges: Go over the edges of the Batman symbol once more. Use a darker pencil or ink to sharpen the image. Make the lines thicker and more defined if necessary.
- Check Symmetry Again: After erasing the guidelines, double-check for symmetry. See if both sides of the symbol mirror each other well.
- Final Touches: Look for any smudges and erase them. Add any small details you might have missed in the earlier stages.
- Use an Eraser Shield: If you want to protect certain parts of your drawing, use an eraser shield. This tool helps in erasing small, precise areas without disturbing other parts.
With these simple steps, your Batman symbol should now look clean and professional. A final, thorough inspection will ensure your drawing has the powerful and iconic appeal it deserves. Practice makes perfect, so don’t hesitate to repeat this process until you’re satisfied with your artwork.
![]()
Coloring Techniques for the Batman Symbol
Coloring your Batman symbol can bring it to life and add a dramatic flair. Here are some techniques:
- Use Dual Tones: The classic Batman symbol is black and yellow. Color the bat black and the background yellow.
- Gradient Effect: Create a gradient effect from the center of the symbol outward. This adds depth.
- Highlighting: Add white highlights to the edges of the bat. This makes the symbol stand out.
- Shading: Add shades under the wings and body of the bat for a more three-dimensional look.
- Choose Your Tools: You can use markers, crayons, or colored pencils. Each gives a different texture.
- Testing Colors: Test colors on a scrap piece of paper to get them right before applying. This prevents mistakes.
Using these techniques will ensure your Batman symbol is not only accurate but also visually appealing.
Variations of the Batman Symbol: Exploring Different Designs
The Batman symbol has taken many forms over the years, each one capturing the essence of the era and the Dark Knight’s status in pop culture. From the classic round-winged badge to the more angular and menacing versions, here are some notable variations you might consider incorporating into your batman symbol drawing practice:
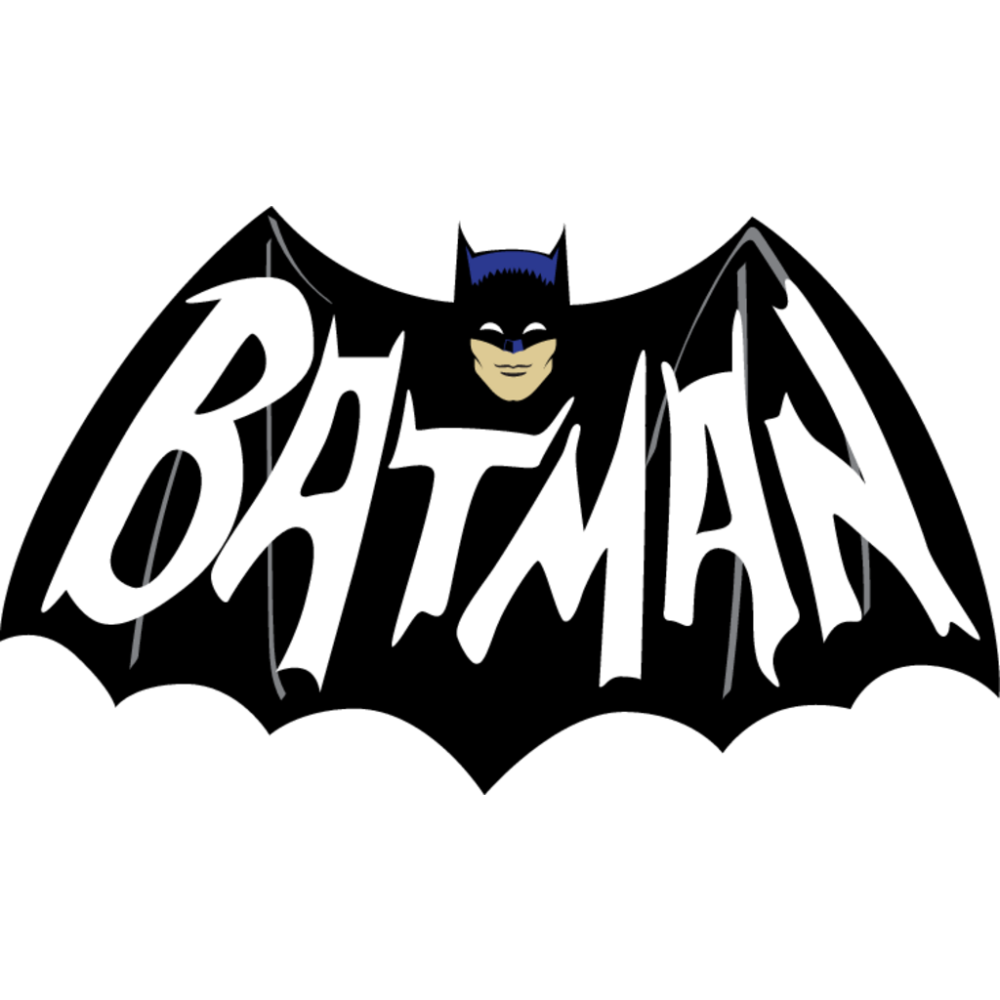
- Golden Age Batman Symbol: This is the original symbol used when Batman first appeared in comics. It has a simple bat design without the oval background.
- Silver Age Batman Symbol: It features a bat inside a yellow oval. The bat’s design is more detailed and the wings curve outward.
- Modern Age Batman Symbol: Often seen in recent comics and movies, this bat is larger with pointed wing tips and a more dynamic shape.
- The Dark Knight Trilogy Symbol: A thicker, chunkier bat with wide wings and a very small head, emphasizing strength.
- Batman Beyond Symbol: Featuring a slender, futuristic bat inside a red oval, symbolizing a high-tech costume and advanced gadgets.
When drawing these variations, keep in mind the importance of symmetry and the character’s attributes each version conveys. Exploring different designs can also help sharpen your drawing skills and grasp the evolution of one of the most iconic symbols in superhero lore. Whether you choose to replicate a classic or create your own version, each symbol reflects a different side of the Caped Crusader.

Drawing the Batman Symbol in Different Mediums
Exploring various mediums for your Batman symbol drawing can greatly enhance your art experience. Here’s how you can utilize different tools:
- Pencils and Graphite: Ideal for beginners; they allow easy corrections and detailed work.
- Markers: Provide bold, defined lines and are great for adding strong contrasts. Perfect for final touches.
- Crayons: Use crayons for a textured look which is wonderful for kids and casual drawings.
- Paints (Watercolor or Acrylic): These can be used for larger art projects. Paints bring richness and a vibrant flair to the Batman symbol.
- Digital Tools: Software like Photoshop or Illustrator can be used to create precise and professional designs. Useful for digital art or creating designs for print.
Each medium has its benefits and can cater to different styles or purposes of drawing. For instance, pencils might be better for sketching and drafts, while markers could be used to emphasize and define the final outline. Meanwhile, digital tools offer undo options and streamlined color management, making them excellent for polished artworks.
Experimenting with different mediums not only enriches your skills but also helps in understanding what each can best emphasize in your drawing.


