Slime kits have become increasingly popular in recent years, and for good reason. They offer a fun and creative outlet that can be enjoyed by people of all ages. One way to take the fun of slime to the next level is by incorporating it into parties and events. In this article, we will explore how to create a make-your-own slime station for parties and events using DIY slime kits.
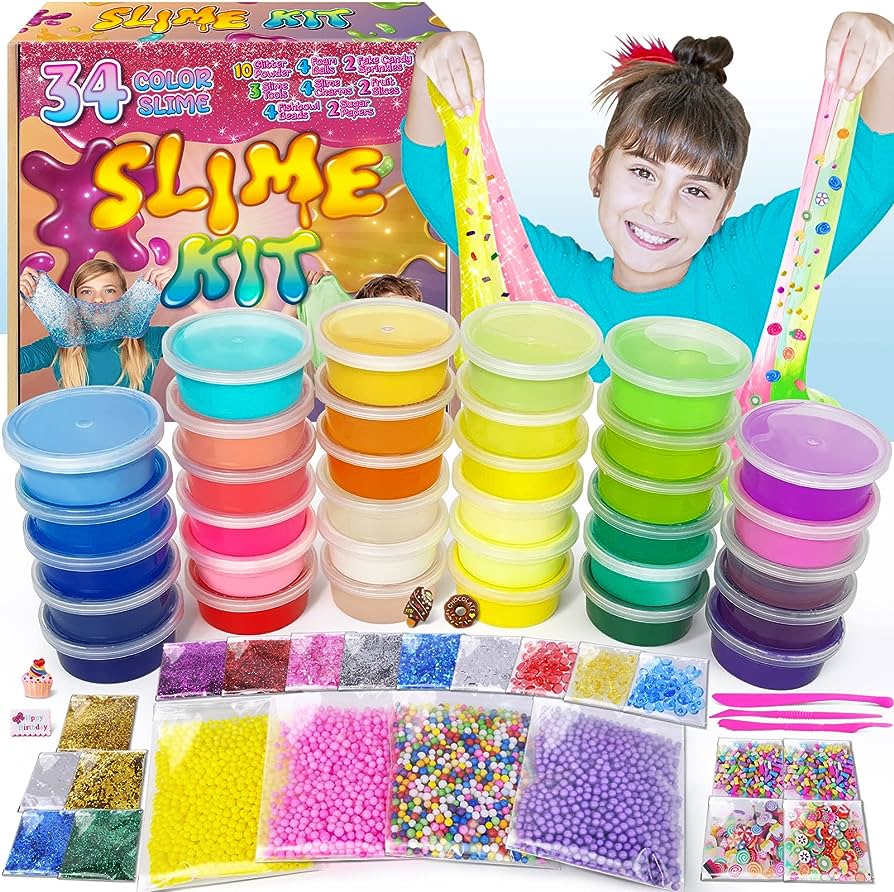
What are DIY Slime Kits? DIY slime kits are similar to regular slime kits, but they are designed for larger groups. They typically include larger quantities of the materials needed to make slime, such as glue and activator. DIY slime kits also come with various add-ins, such as glitter and beads, to allow for customization. The kits are designed to be easy to use and require no prior experience.
Why DIY Slime Kits are Perfect for Parties and Events
DIY slime kits are perfect for parties and events for several reasons:
-
Fun and Interactive Activity: Making slime is a fun and interactive activity that can be enjoyed by people of all ages. It provides a creative outlet and can help people relax and unwind.
-
Customizable: DIY slime kits come with various add-ins that can be combined in different ways to create unique slime creations. This allows for customization and personalization, which can make the activity even more fun.
-
Affordable: DIY slime kits are affordable and can be purchased in bulk, making them an ideal option for parties and events.
-
Easy to Set up: Setting up a make-your-own slime station is easy and requires minimal effort. All you need is a clean and spacious area and the DIY slime kits.
How to Set up a Make-Your-Own Slime Station
Setting up a make-your-own slime station is easy and can be done in a few simple steps:
-
Gather Materials: You will need a clean and spacious area, DIY slime kits, and additional supplies such as mixing bowls and spoons.
-
Set up the Station: Lay out the DIY slime kits and additional supplies in an organized and accessible manner. Make sure there is enough space for people to work comfortably.
-
Provide Instructions: Provide clear and concise instructions on how to make slime using the DIY slime kits. Consider creating a visual guide or demonstration to help people understand the process.
-
Supervise the Activity: Assign a supervisor to oversee the activity and ensure that everyone is following the instructions and working safely.
-
Clean up: Once the activity is over, make sure to clean up the area and dispose of any leftover materials properly.
Tips for a Successful Make-Your-Own Slime Station
Here are some tips for creating a successful make-your-own slime station:
-
Provide a Variety of Add-Ins: Offer a variety of add-ins such as glitter, beads, and foam balls to allow for customization and creativity.
-
Consider Allergies: Make sure to consider any allergies when selecting materials for the DIY slime kits. Offer alternative materials for those who cannot use certain add-ins.
-
Offer Guidance: Provide guidance and assistance to those who are new to making slime. Consider having a demonstration or offering one-on-one assistance.
-
Have Fun!: Remember that the goal of the make-your-own slime station is to have fun and enjoy the activity. Encourage creativity and experimentation.
Conclusion
DIY slime kits are a fun and affordable way to incorporate slime into parties and events. By following the steps outlined in this article, you can create a successful make-your-own slime station that will provide hours of fun and creativity. Remember to provide clear instructions, consider allergies, and have fun!