Introduction
In today’s fast-paced world, parents and educators are constantly searching for engaging activities to inspire creativity in children. One excellent way to foster artistic expression is through paper mache food. This unique crafting method not only promotes creativity but also enhances fine motor skills and provides educational opportunities. In this article, we will explore various aspects of paper mache food, highlighting fun projects, easy recipes, and tips on how to make paper mache food for kids. Whether you’re a parent looking for a hands-on activity or a teacher seeking classroom inspiration, this guide aims to fuel your creativity with paper mache food.
Understanding Paper Mache: A Brief Overview
Paper mache, or papier-mâché, is a versatile crafting technique that involves combining shredded paper, an adhesive (such as glue or paste), and water to create sturdy structures. This method has roots dating back to ancient civilizations, with origins in Asia as far back as 2000 BC. The adaptability and affordability of paper mache make it an ideal choice for crafting projects, especially for children.
Working with paper mache allows children to explore their creativity, create functional art pieces, and develop essential life skills. When engaging in paper mache food projects, kids can simulate various food items, such as fruits, vegetables, or even tempting desserts. Not only does this provide a fun and educational activity, but it also encourages imaginative play and creativity.
Getting Started: Materials Needed
Before diving into fun paper mache food crafts for kids, it’s crucial to gather the necessary materials. The basic ingredients include the following:
- Shredded Paper
- Type of Paper: Utilize newspaper or ordinary paper as the primary material for shredding. These types of paper work best due to their fibrous texture, which enhances adhesion in the paper mache process.
- Avoid Glossy Paper: Steer clear of glossy or colored paper. These types often contain additives and coatings that can prevent proper adhesion, making them unsuitable for a successful paper mache project.
- Flour and Water
- Creating a Paste: A simple and effective paste can be made using a mixture of flour and water. This natural adhesive serves as the binding agent for the shredded paper, allowing it to adhere together as well as to your chosen mold.
- Mixing Tip: Ensure that the flour is well mixed into the water to avoid lumps, creating a smooth consistency that easily coats the shredded paper.
- Balloon or Base
- Using a Balloon as a Mold: A balloon can serve as a versatile mold for your paper mache creation. Simply inflate the balloon to your desired size and cover it with layers of the shredded paper and paste to form a hollow shape.
- Alternative Bases: If you prefer not to use a balloon, you can also craft a base using materials like cardboard or aluminum foil. These materials allow for more customizable shapes and are especially useful for larger or more intricate designs.
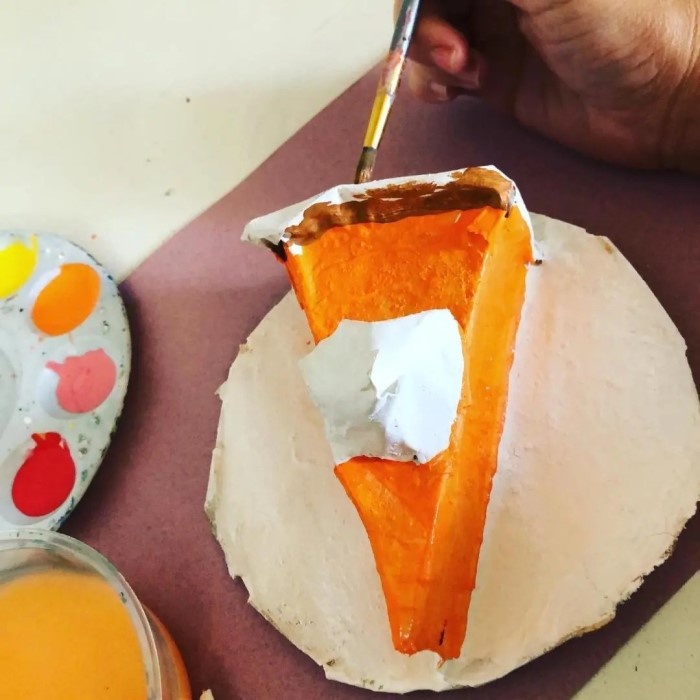
- Paint
- Choosing the Right Paint: To add vibrant colors to your paper mache creations, opt for non-toxic acrylic or washable paint. These types of paint are safe for children and easily adhere to the papered surface, resulting in bright, lasting colors.
- Painting Tips: Apply multiple coats for an even finish, allowing each layer to dry fully before adding the next.
- Varnish
- Sealing for a Glossy Finish: To protect your completed project and give it a polished appearance, consider applying a non-toxic varnish. This step seals the paint and paper mache, safeguarding it from moisture and wear.
- Application Method: Use a brush to apply the varnish evenly, ensuring coverage over all painted surfaces for the best results.
Getting these materials ready will set the stage for an enjoyable crafting experience. Now that you know what materials you need, let’s explore some exciting ideas for paper mache food projects that will capture the imagination of young crafters.
Fun Craft Ideas for Kids
Creating paper mache food items is a fun, educational, and often tasty endeavor for kids. Here are several popular projects that children will love:
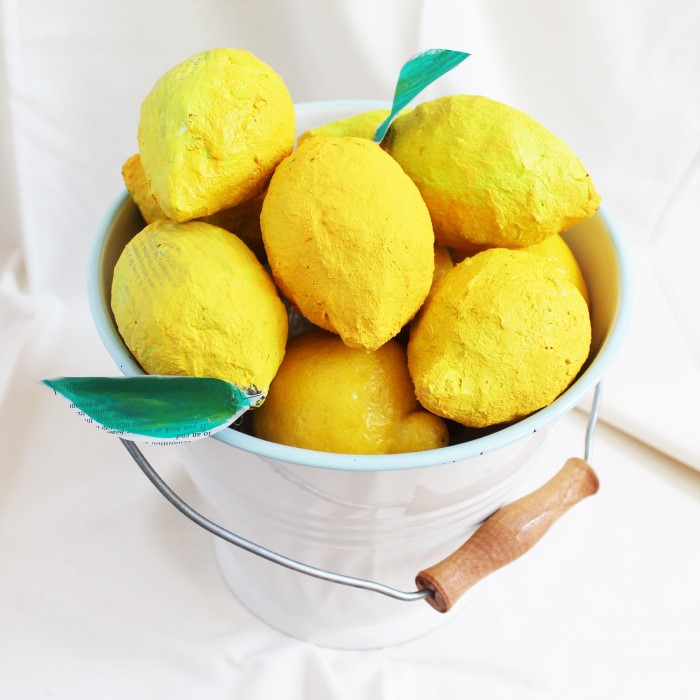
1. Paper Mache Fruits and Vegetables
One of the best ways to combine fun and learning is by crafting realistic-looking fruits and vegetables. This project not only teaches children about healthy eating habits but also encourages them to explore different shapes and colors. To make paper mache fruits, use large balloons for round shapes, such as apples or oranges. Children can layer strips of paper over the balloon, let it dry, and then paint their creations in bright and lifelike colors.
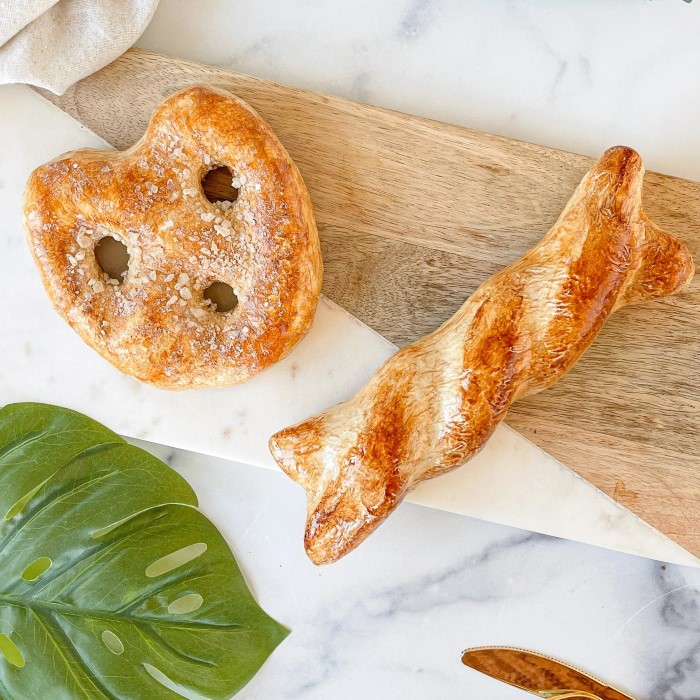
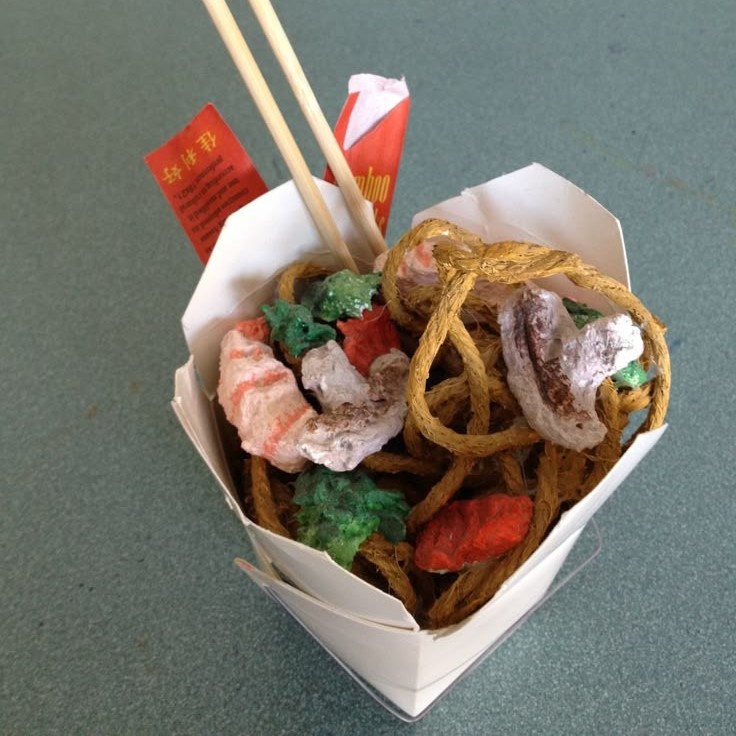
2. Food Plates or Platters
Another exciting project involves making large food platters or plates. Children can create their favorite meals, such as pizza, sushi, or burgers, by molding paper mache over a paper plate or foiled base. This project allows for endless creativity as kids can use colors and paint to replicate their favorite dishes. Furthermore, they can learn about the nutritional value of different foods while crafting.
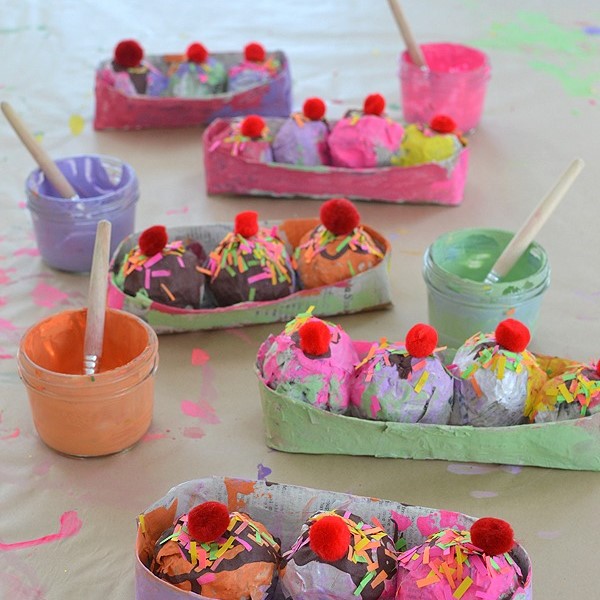
3. Dessert Creations
Desserts are always a hit with children! They can make layered cakes or ice cream cones as part of their crafting activities. Kids can create the base structure using several layers of paper mache, then decorate it with colorful paints and other embellishments. This fosters creativity as they experiment with various colors and textures while making delicious-looking treats.
4. Themed Food Displays
Consider creating themed food displays with your children. They can work together to design enjoyable food items that cater to a specific theme, such as a taco stand, an ice cream shop, or a candy buffet. These group projects enhance teamwork and communication skills as children learn to collaborate creatively.
5. Paper Mache Food Spoons and Utensils
For an added touch, kids can also make paper mache food utensils. They can craft spoons, forks, and serving utensils alongside their food creations. This project involves the same paper maché techniques but allows children to create a complete dining experience. After decorating, they can use these utensils to serve their crafted food items during imaginative playtime.
Easy Recipes for Kids
If you are looking for easy paper mache food recipes for kids, here’s a simple paste mix that can be used in your projects:
Basic Paper Mache Paste Recipe
- 2 cups of water
- 1 cup of flour
- 1 tsp of salt (optional, for preservation)
- 1 tsp of sugar (optional, for preservation)
Instructions:
- In a mixing bowl, combine the flour and salt, stirring well.
- Gradually add water while stirring until the mixture reaches a smooth, consistent paste.
- If desired, include sugar in the mixture for added preservation properties.
- Your paper mache paste is ready to use immediately or can be stored in a sealed container for a few days.
Using this basic paste, children can create various food projects while developing important crafting skills.
FAQs: Your Questions Answered
As we explore the exciting world of paper mache food, you might have some questions about the process and its safety. Here are answers to some frequently asked questions:
How to Make Paper Mache Food?
To make paper mache food, gather your materials, including shredded paper, paste, and a form (like a balloon or cardboard). Dip strips of paper into the paste, and layer them over the form until it’s well covered. Allow it to dry completely (this can take a day or two), then gently pop the balloon (if using one) or remove the mold, and finally, paint and decorate as desired.
What is Mexican Paper Mache Stuffed with Sweets?
Mexican paper mache crafts, often referred to as piñatas, are colorful figures traditionally filled with sweets and small toys. During celebrations, piñatas are typically hung within reach of children, who take turns trying to break them open with a stick, releasing candies and treats within. Crafting piñatas can be an exciting activity that combines art, culture, and fun.
What are the 4 Ingredients for Paper Mache?
The basic ingredients for paper mache include:
- Shredded paper (such as newspaper)
- An adhesive paste (commonly made from flour and water)
- A form or mold (like a balloon, cardboard, or foil)
- Paint for decoration
Are Paper Mache Bowls Food Safe?
Generally, paper mache is not considered food safe unless a proper treatment has been applied. Although you can use a non-toxic varnish as a sealant, it is recommended to avoid directly placing food items inside paper mache bowls. Instead, use them for decorations or as serving containers for non-food items.
Conclusion
Engaging children in crafting through paper mache food offers numerous benefits. It fosters creativity, teamwork, and learning about nutrition and art while providing a hands-on experience that promotes fine motor skills and cognitive development. From the excitement of making food replicas to the joy of decorating them, children can completely immerse themselves in the world of crafting. Moreover, exploring how to make paper mache food serves as an excellent opportunity for children to learn about the creative process, from choosing materials to executing their ideas.
Ultimately, paper mache food projects for children provide endless opportunities for imaginative play. Through these fun paper mache food crafts for kids, you can inspire creativity that encourages self-expression and artistic exploration. So gather your materials, let the kids unleash their imagination, and watch as their unique creations come to life, bringing joy and educational value to crafting time!