Toys are not just objects; they hold sentimental value and memories from our childhood. If you’re a fan of Pokémon, you might have a turtle Pokémon toy that has seen better days. Over time, these cherished toys can collect dirt, grime, and lose their original luster. However, fear not! With a little TLC and some cleaning techniques, you can restore the original beauty of your turtle Pokémon toy. In this guide, we will take you through step-by-step instructions on how to clean and restore your toy, bringing it back to its former glory. So let’s dive in and make your turtle Pokémon toy shine once again!
I. Assessing the Condition:
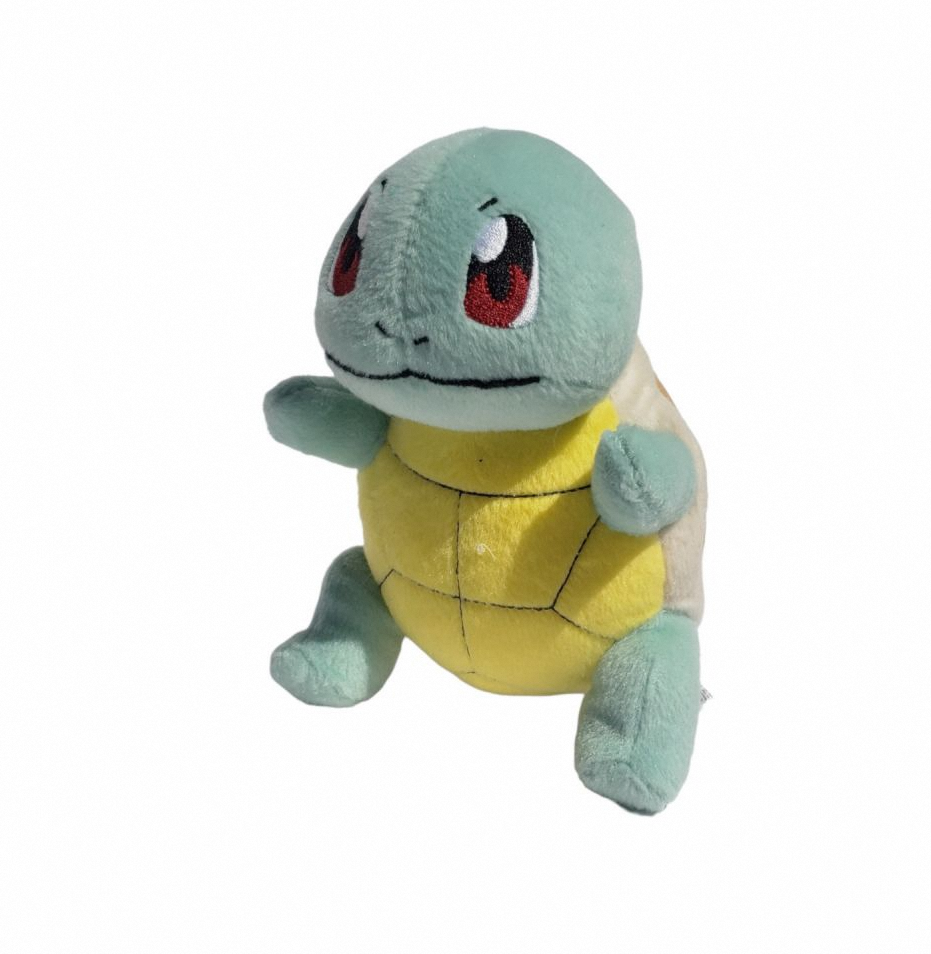
Before you start cleaning, it’s important to assess the condition of your turtle Pokémon toy. Look for any visible dirt, stains, discoloration, or damage. This will help you determine the cleaning techniques required and whether any repairs are needed.
II. Gathering Supplies:
To clean and restore your toy, you’ll need a few supplies. Here’s a list of items you’ll need:
- Mild dish soap
- Warm water
- Soft-bristle toothbrush
- Microfiber cloth
- Cotton swabs
- Rubbing alcohol
- White vinegar
- Toothpicks
- Q-tips
- Mild abrasive cleaner (optional)
- Clear nail polish (optional)
III. Cleaning the Surface:
The first step is to clean the surface of your turtle Pokémon toy. Start by mixing warm water with a small amount of mild dish soap. Dip the soft-bristle toothbrush into the soapy water and gently scrub the toy’s surface. Pay close attention to areas with visible dirt or stains. Rinse the toy thoroughly with clean water and pat it dry with a microfiber cloth.
IV. Removing Stubborn Stains:
If your toy has stubborn stains that couldn’t be removed with a gentle scrub, it’s time to bring out the heavy artillery. Use a cotton swab dipped in rubbing alcohol to gently rub the stained area. Be cautious not to rub too hard, as it may damage the toy’s paint or finish. For tough stains, you can also mix equal parts of white vinegar and water, and use a cotton swab to apply the mixture onto the stain. Let it sit for a few minutes before wiping it off with a cloth.
V. Repairing Damaged Parts:
If your turtle Pokémon toy has broken or damaged parts, it’s essential to repair them for a complete restoration. Use toothpicks and clear nail polish to fix any loose or broken pieces. Apply a small amount of nail polish to the broken part, then carefully position it back into place. Use the toothpick to hold it in position until the nail polish dries. This technique works best for small repairs, such as detached limbs or accessories.
VI. Detailing and Finishing Touches:
To give your turtle Pokémon toy the finishing touches, it’s time to focus on the finer details. Use a toothpick or Q-tip dipped in rubbing alcohol to clean the crevices and hard-to-reach areas. Be gentle and take your time to ensure thorough cleaning. If your toy has any stickers or decals, take extra care not to damage or remove them during this process. Once you’re satisfied with the cleaning, wipe the entire toy with a microfiber cloth to remove any excess moisture or residue.
VII. Restoring Luster:
If your turtle Pokémon toy has lost its original luster, there are a few techniques you can use to bring it back. One option is to gently buff the toy’s surface with a mild abrasive cleaner. Be cautious while doing this, as excessive rubbing can damage the paint or finish. Alternatively, you can use a small amount of clear nail polish to give the toy a glossy shine. Apply the nail polish evenly and let it dry completely before handling the toy.
Your turtle Pokémon toy has now gone from grime to shine, thanks to the restoration techniques you’ve learned. By following these step-by-step instructions, you can revitalize your beloved toy and bring back the memories it holds. Remember to always be gentle and take your time throughout the cleaning and restoration process. With a little effort and care, your turtle Pokémon toy will once again be a shining gem in your collection.