Slime is a fun and popular sensory play activity for kids of all ages. Making your own slime kit at home is a great way to save money and customize the kit to your child’s preferences. In this article, we will provide you with a detailed step-by-step guide on how to make your own slime kit at home.
Step 1: Gather Materials
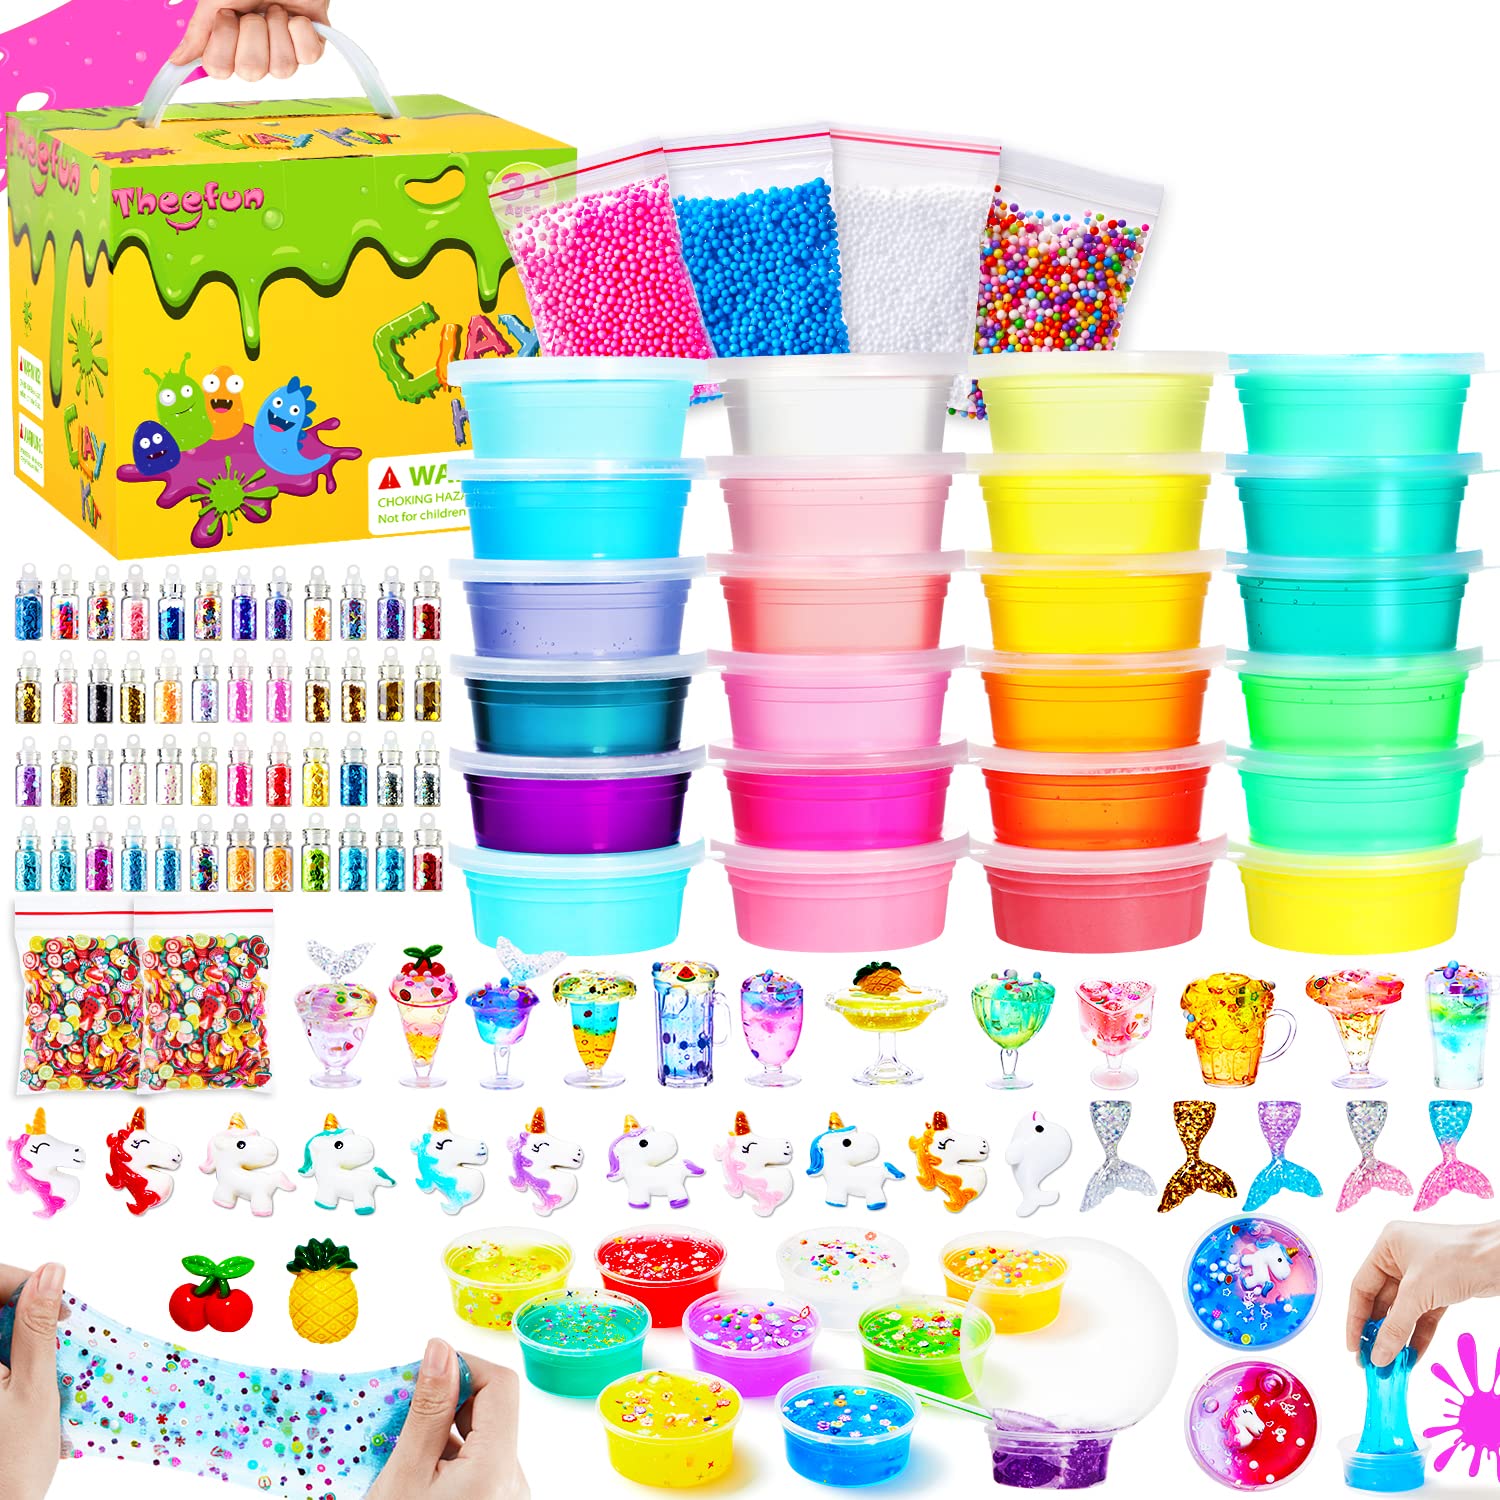
The first step in making your own slime kit is to gather materials. You will need basic slime ingredients such as glue, borax, and food coloring, as well as any additional materials you wish to include in your kit, such as glitter, foam balls, and beads. You can find these materials at craft stores, online retailers, or even your local grocery store.
Step 2: Choose Containers
Choose containers for your slime kit that are easy to access and store. Small plastic containers with lids are a great option for separating different materials and keeping them organized. You can also use snack bags or small jars if you prefer.
Step 3: Create Labels
Create labels for each container in your slime kit. This will help your child identify the different materials and keep the kit organized. You can create labels using a label maker or by hand using stickers or markers. Be sure to include the name of the material and any safety information or instructions.
Step 4: Mix Basic Slime Ingredients
Mix basic slime ingredients, such as glue and borax, according to the instructions on the packaging. Pour the mixture into a container and add food coloring if desired. Repeat this process for each color you want to include in your kit. Consider making a variety of colors to keep your child engaged and interested in the activity.
Step 5: Add Additional Materials
Add additional materials, such as glitter, foam balls, and beads, to separate containers. Make sure to choose materials that are safe for kids to use and handle. You can mix and match different materials to create unique textures and colors.
Step 6: Include Tools
Include tools such as spoons, measuring cups, and mixing bowls in your slime kit to make the process of making slime easier and more fun for your child. You can also include items like gloves or aprons if you want to keep your child clean during the activity.
Step 7: Personalize Your Kit
Personalize your slime kit by adding stickers or other decorations to the containers or including a handwritten note or instructions. This will make the kit feel special and unique to your child. You can also include a fun name for your kit, such as “Magical Slime Factory” or “Squishy Fun Time.”
Step 8: Store Your Kit
Store your slime kit in a cool, dry place away from direct sunlight. Make sure to keep the containers sealed to prevent the materials from drying out or becoming contaminated. You can use a storage container or a shelf in your child’s room to keep the kit organized and easily accessible.
In Conclusion
Making your own slime kit at home is a fun and easy way to save money and customize the kit to your child’s preferences. Gather materials, choose containers, create labels, mix basic slime ingredients, add additional materials, include tools, personalize your kit, and store it in a cool, dry place. With this detailed step-by-step guide, you’ll be well on your way to making your own slime kit at home and providing your child with a fun and educational sensory play experience.