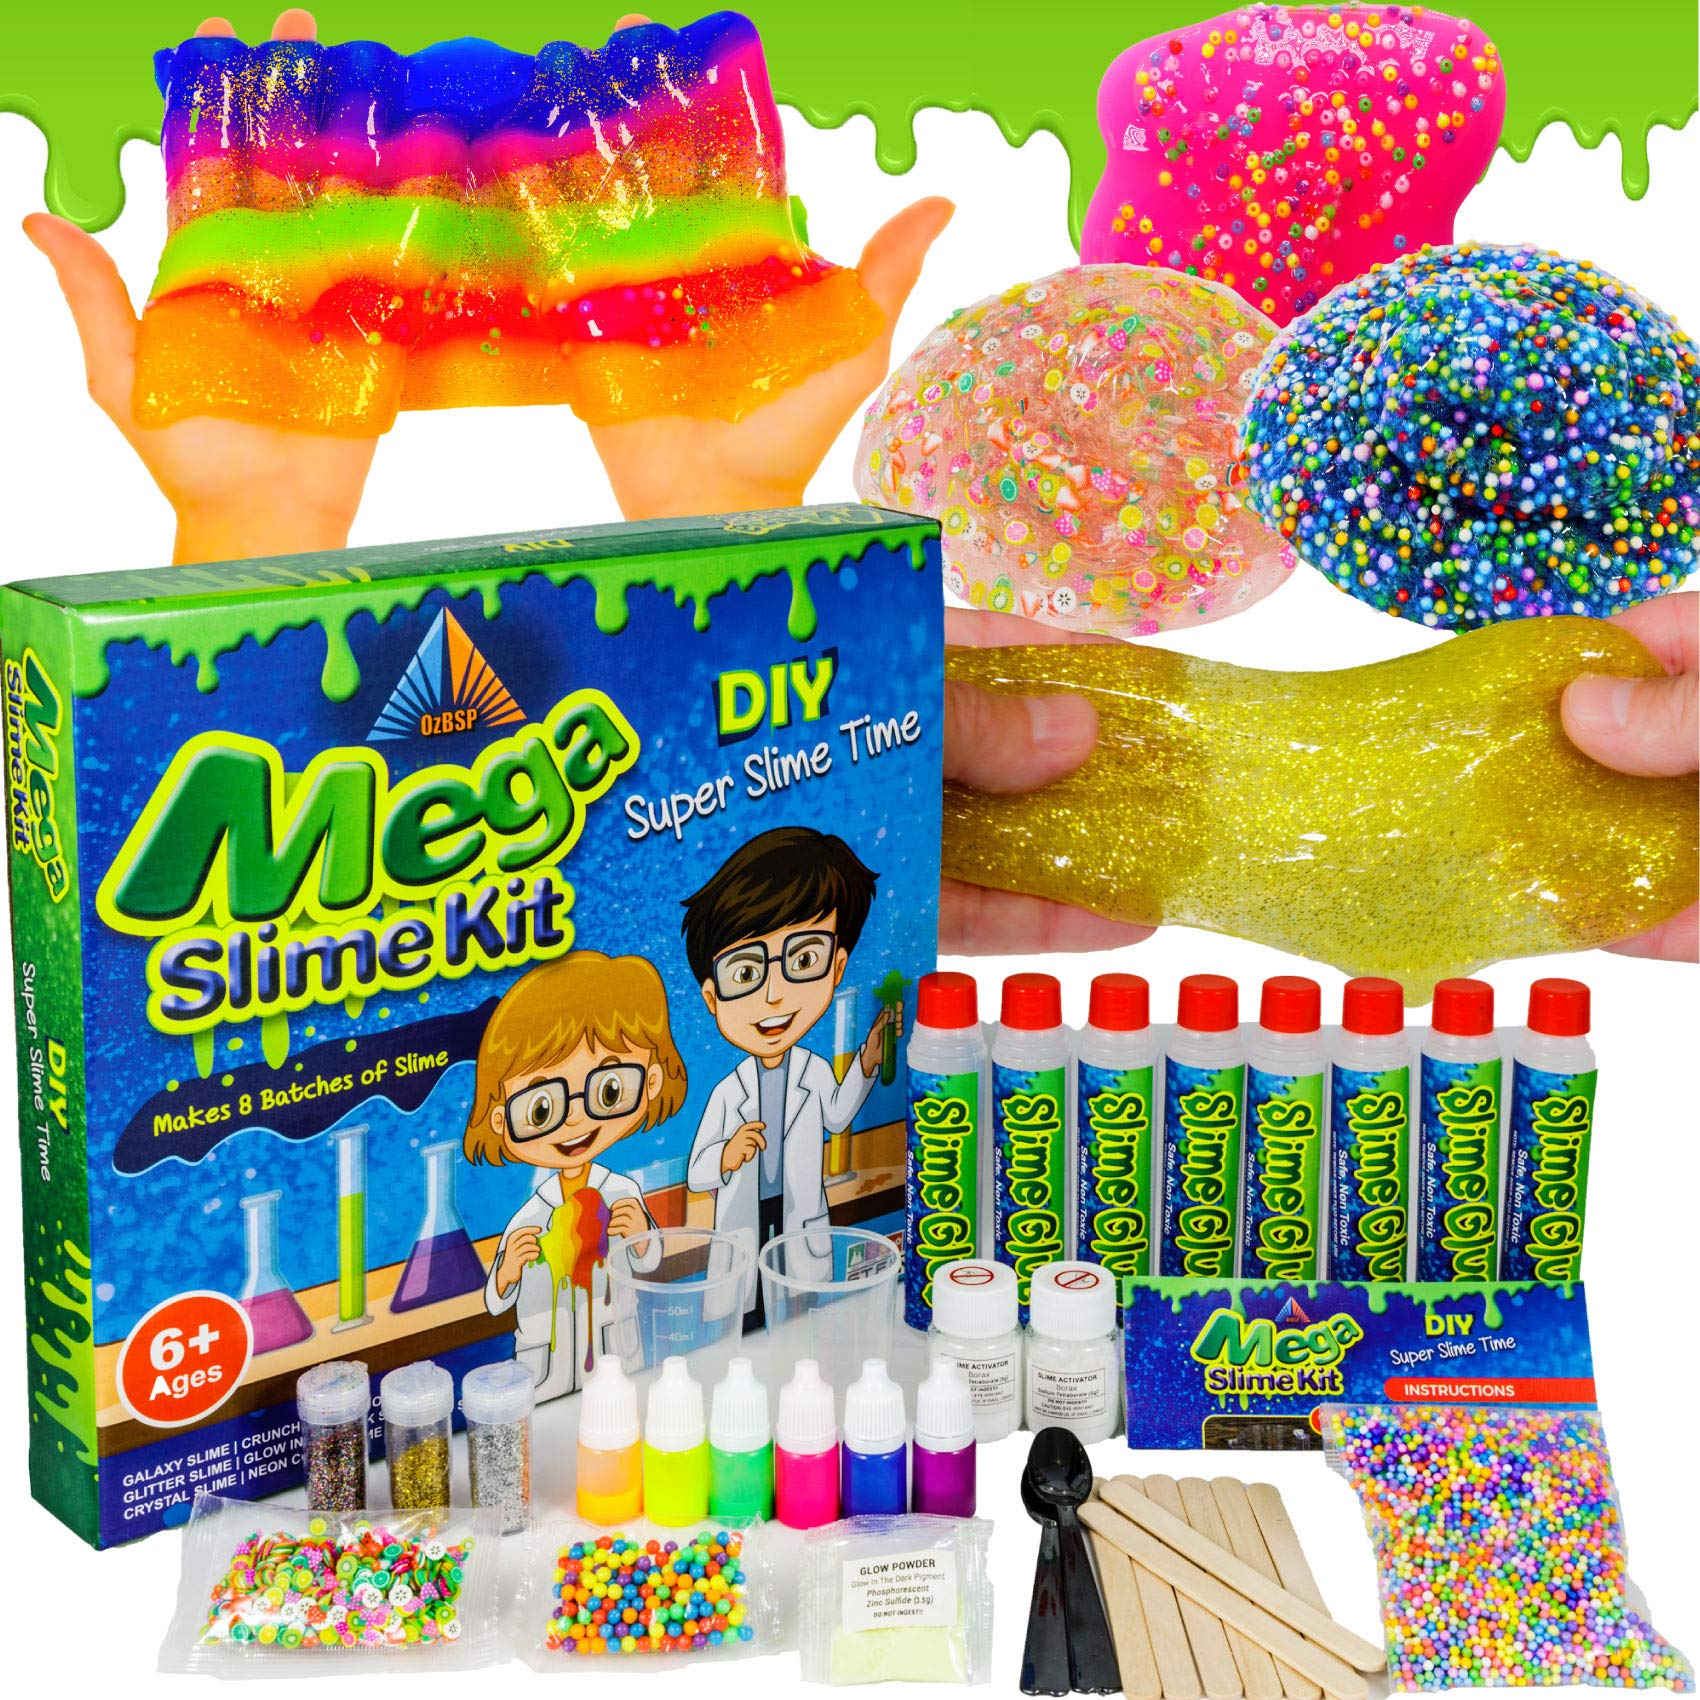
Making slime is a fun and creative activity that kids of all ages can enjoy. While there are many slime kits available on the market, it’s also possible to make your own slime kit at home. In this article, we’ll guide you through the process of making your own slime kit step-by-step.

Introduction
Slime-making has become a popular activity among kids in recent years, but buying pre-made slime kits can be expensive and limited in options. By making your own slime kit at home, you can customize the ingredients and add-ins to your child’s preferences, and create a more cost-effective and eco-friendly option. In this article, we’ll provide you with a step-by-step guide to making your own slime kit at home.
Step 1: Gather Materials and Supplies
The first step to making your own slime kit at home is to gather all the necessary materials and supplies. You’ll need basic ingredients like glue and activator, as well as add-ins like glitter, foam beads, or food coloring. You’ll also need containers to store your ingredients and mixing tools like spoons or spatulas.
Consider your child’s preferences when it comes to ingredients and add-ins, and make sure to choose non-toxic options that are safe to handle. You can also use recycled or repurposed containers for your ingredients to make your slime kit more eco-friendly.
Step 2: Measure and Mix Ingredients
Once you’ve gathered all the necessary materials and supplies, it’s time to measure and mix your ingredients. You’ll need to mix the glue and activator in the right ratio to create the basic slime recipe, and then add in your chosen add-ins to customize your slime.
Follow the instructions for each ingredient carefully, and make sure to mix them thoroughly together. You can also experiment with different textures and consistencies by adjusting the ratios or adding different ingredients.
For the basic slime recipe, you’ll need:
- White school glue (4 oz)
- Liquid starch or borax solution (1/4 cup)
- Water (1/4 cup)
To make the borax solution, mix 1 teaspoon of borax with 1 cup of warm water until it dissolves.
Mix the glue and water together in a bowl until fully combined. Add in your chosen add-ins, such as glitter or food coloring, and mix again. Slowly add in the activator, stirring continuously until the slime forms. Knead the slime with your hands until it becomes less sticky and more stretchy.
Step 3: Store and Label Your Slime Kit
Once you’ve mixed your ingredients and created your slime kit, it’s important to store and label it properly. Use airtight containers to store your ingredients and slime, and label them clearly with the ingredients and ratios used.
Make sure to store your slime kit in a cool, dry place away from direct sunlight or heat, and supervise your child while they’re handling the ingredients and making slime.
Step 4: Experiment and Have Fun
The final step to making your own slime kit at home is to experiment and have fun with it. Encourage your child to explore different textures and consistencies, and to mix and match different add-ins to create their own unique slime recipe.
You can also use your slime kit as a fun and educational tool, by teaching your child about the science behind slime-making and the properties of the different ingredients.
Tips for Making the Perfect Slime:
- Use a clear glue for a more transparent slime, or a colored glue for a more vibrant color.
- Experiment with different add-ins like foam beads, sequins, or confetti to create different textures and effects.
- Adjust the ratio of glue and activator to create a firmer or more stretchy slime.
- Use a mixer or blender to mix your ingredients for a smoother and more consistent slime.
- Add a few drops of essential oil or fragrance oil to give your slime a pleasant scent.
Conclusion
Making your own slime kit at home is a fun and cost-effective alternative to buying pre-made kits. By following these simple steps and tips, you can create a customized and eco-friendly slime kit that your child will love. Gather your materials and supplies, measure and mix your ingredients, store and label your slime kit, and most importantly – experiment and have fun with it!